For me, hair removal is without a doubt the most time-consuming, expensive and annoying part of my beauty routine. You see, I’m naturally a very hairy person. So much so that I’ve been frequenting my local salon once a month for a face waxing since my early teens. However, as I have got older, my beauty priorities have started to shift. Whereas once upon a time having perfectly groomed brows, silky smooth legs and a preened bikini line justified huge expense and effort, more recently I have found myself seeking cheaper, less time-consuming hair removal methods.
And I’m pleased that I got a head start. With salons shut, we have no choice but to turn to at-home hair removal methods. Luckily, I have already dedicated a great deal of time to perfecting my routine, and it’s much easier than I thought it would be. Sure, I might not get salon-smooth results every time, but it will do for now.
So take my word for it when I say that during this time, there are some very effective ways of keeping everything in check without having to go to the salon. With a little guidance from hair removal expert Zainab Siddiq at Ministry of Waxing, keep scrolling for everything you need to know about getting rid of body hair at home.
Waxing

Quite possibly one of the most popular salon treatments out there, waxing is a method loved by many. Leaving the smoothest finish, waxing removes the whole hair from the follicle, giving low-maintenance, long-lasting results. So what’s the issue about carrying it out yourself at home? Well, the pain. The truth is, waxing is painful, and having to wax yourself can be quite the mental challenge. "Waxing is all about confidence,” says Siddiq. "Once the wax is applied to the skin, a strong removal with a supporting stretch on the skin is the most important part.”
Besides that, however, there are some things you can (and should) do to help minimise pain and in order to get the best results. Follow Siddiq’s step-by-step below.
Step 1: When using any waxing product, it’s important to sanitise the area beforehand in order to have a clean base for the product to adhere to without causing irritation to the epidermis.
Step 2: If using a strip wax product, a small amount of talc can be applied as a barrier to protect the epidermis and only go over the area once as repeating the step could remove parts of the epidermis that has active cell membranes.
Step 3: If using a hard-wax product, please follow the recommended advice on the product. It will either be an oil or talc base to again protect the epidermis. Hard wax does not stick to the skin (it only adheres to the hair), meaning you can wax over the same area twice assuring a small amount of the barrier product is used again. Hard wax is better for sensitive areas such as the underarms and bikini line, as it's terminal hair, which is coarser than vellus hair found on your arms and legs.
Step 4: When applying the wax, apply in the direction of hair growth and remove against the direction of hair growth to give the best results and ensure the bulb is removed from the root. Hold and stretch the skin whilst removing.
Step 5: Finish up with an aftercare product to close and clean the pores.
Shop Waxing Products
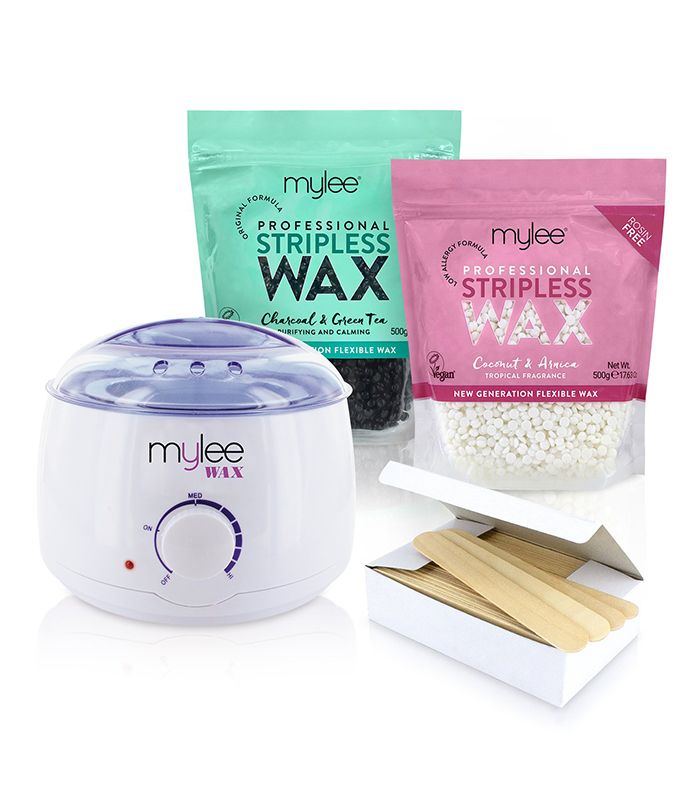
Hard Wax Waxing Kit
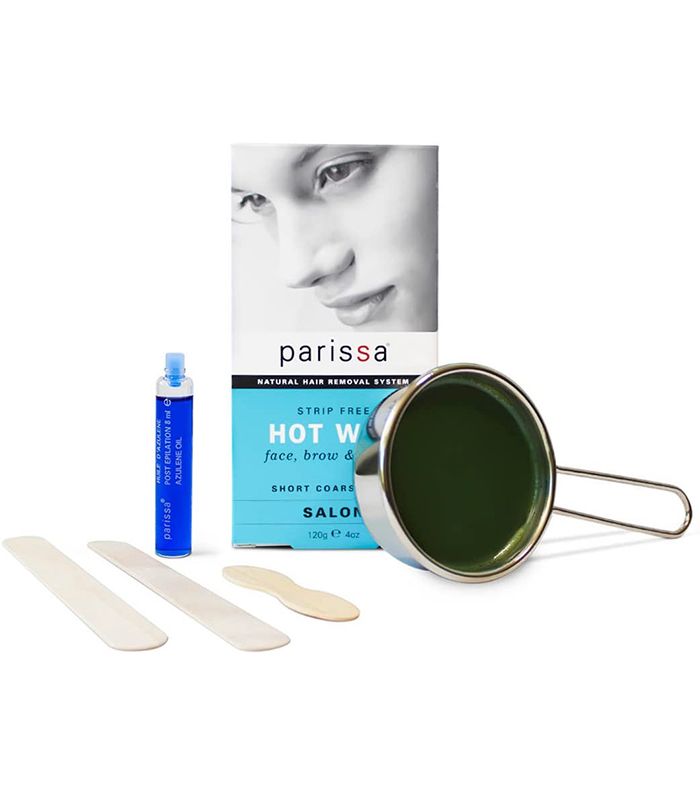
Hot Wax, Bikini and Brazilian Waxing Kit With Strip Free Hard Wax
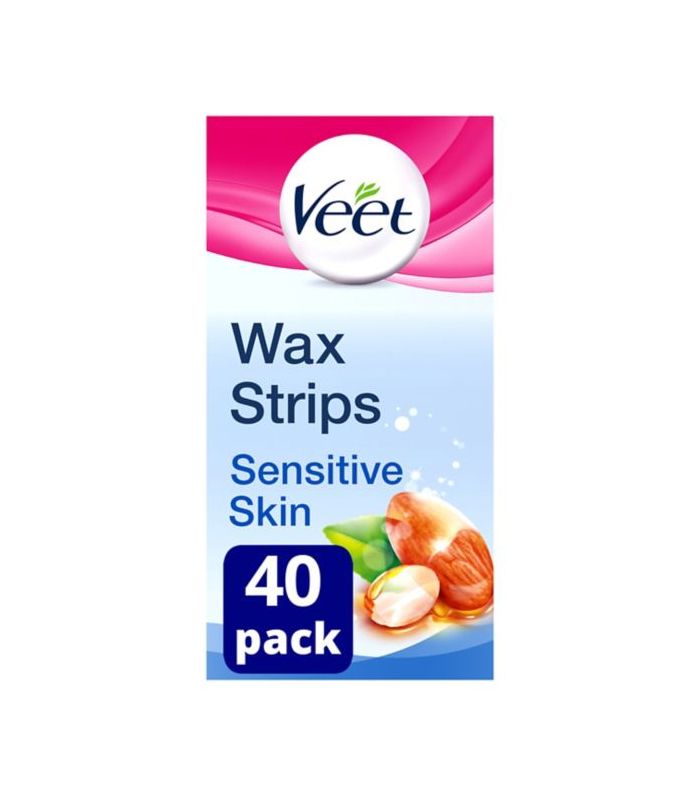
Veet
40 Wax Strips Maxi Format Sensitive Skin
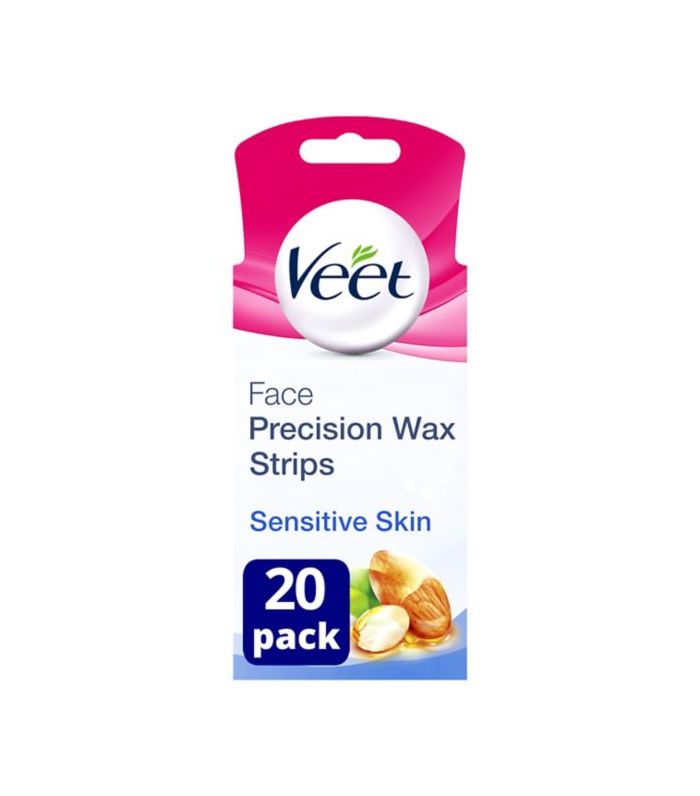
Veet
EasyGrip Ready-to-Use Face Wax Strips
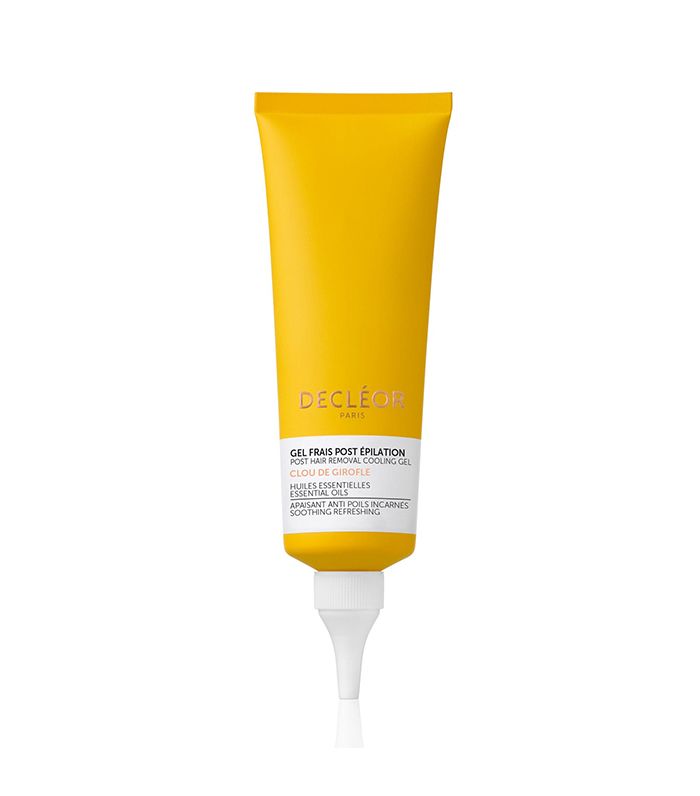
Post Hair Removal Cooling Gel
Shaving
There’s no doubt about it, shaving is by far the easiest way to quickly remove hair at home. "All hair types can be shaved,” explains Siddiq. "However, it is important to ensure the skin is looked after,” she warns.
And it’s true. Although shaving is the most convenient method, it’s also one of the most irritating on the skin. Not only does it not remove the hair, meaning it grows back quickly and stubbly, but it can also leave the skin red, bumpy and at risk of forming ingrown hairs.
In order to help avoid such issues, Siddiq advises exfoliating twice a week, "This will remove dead skin cells that can get trapped in the razor and cause bacteria build-up.” Once you feel as though the skin is suitably prepped for shaving, it’s time to get out the razor. "If the hair is long, shave in the direction of the hair first before you then shave against the hair growth. This stops irritation and erythema on the skin’s surface,” she says.
Finish up with a slathering of moisturiser to help keep the skin healthy.
Shop Shaving Products
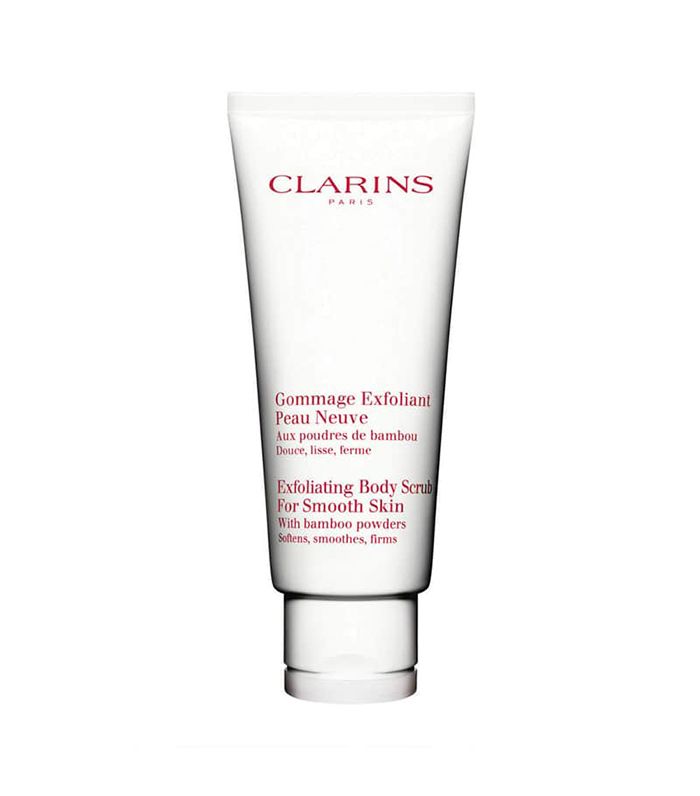
Exfoliating Body Scrub
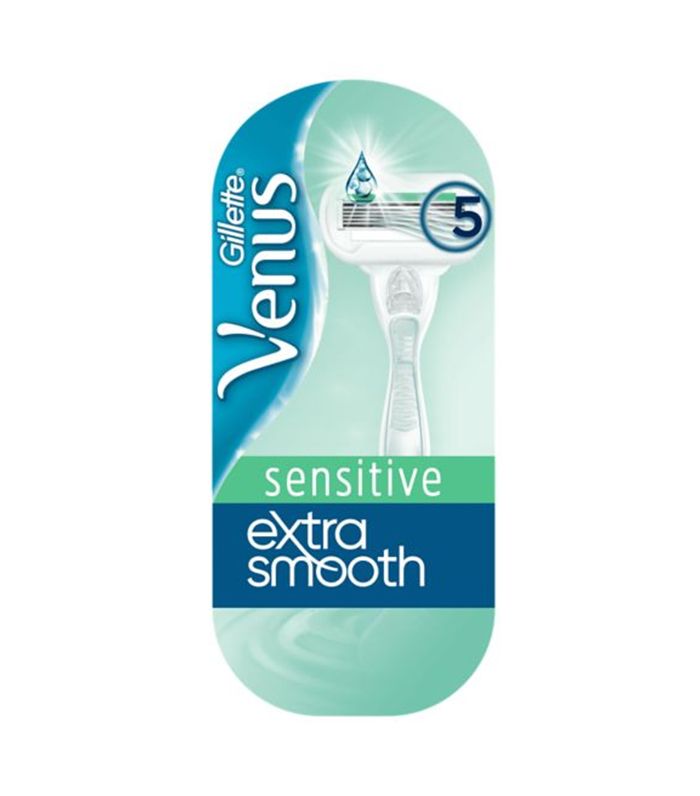
Venus Extra Smooth Sensitive Razor
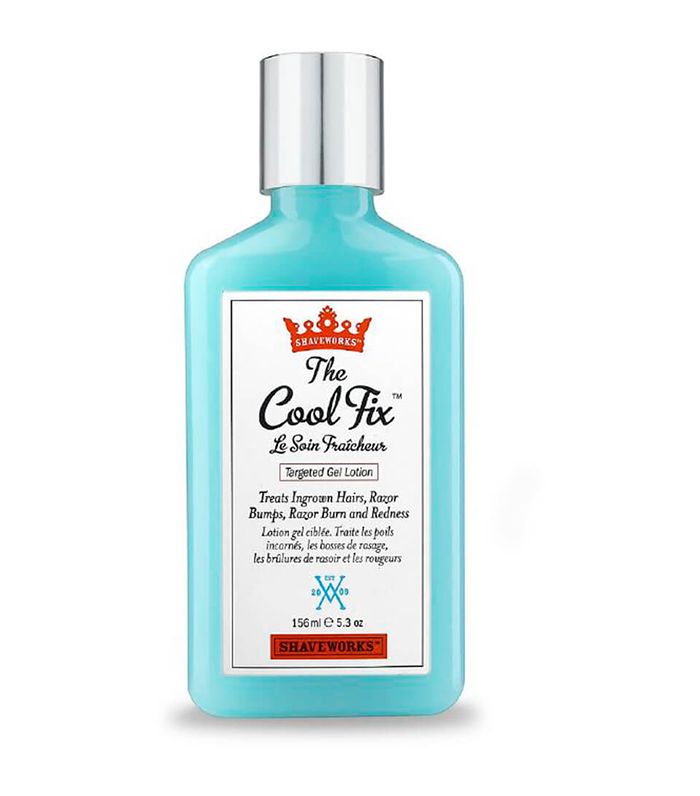
Shaveworks
The Cool Fix Targeted Gel Lotion
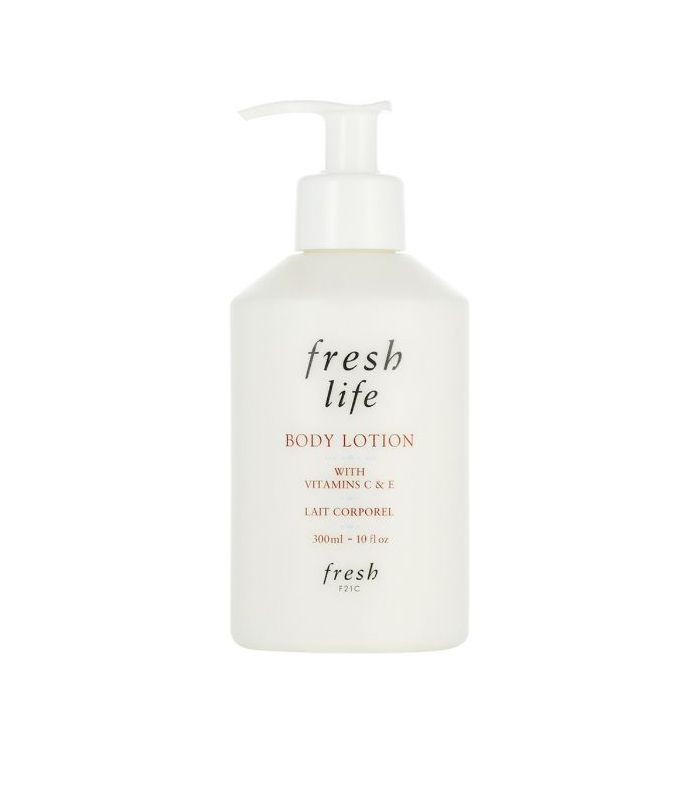
Fresh
Fresh Life Body Lotion
Threading

For those that have ever endured getting their brows or face threaded will understand that it really isn’t the sort of technique that can be carried out easily at home. It requires a trained eye, a steady hand and usually, an extra set of hands (or teeth). Whereas tweezing pulls out individual hairs and wax pulls out a whole bunch, threading works by plucking hairs out in straight lines, making it a great option for neatening up brows quickly.
With that being said, threading your brows at home is strongly advised against as it leaves very little room for error. "Threading is usually done by a skilled expert. It can be done at home, but is only recommended to do on areas other than your eyebrows as you won’t be able to stretch and thread all at the same time by yourself,” says Siddiqi.
However, if you don’t get on with wax, threading could be a great way to manage any unwanted facial hair during this time. All you need is a reel of thread and to follow Siddiq’s steps below:
Step 1: Cleanse and dry the area to ensure that it is free of any oils or makeup. Then get a piece of thread around 20cm long and tie it at the end, creating a big circle.
Step 2: Place your hands in the circle, holding it halfway down your fingers (like how you would when playing cats cradle) and then turn one hand clockwise turning the big circle in to a figure of eight. The twists in the middle are what will do the threading.
Step 3: In order to thread the upper lip, you will need to get used to the motion first. Open one hand and close the other and alternate this so that the twisted thread moves up and down the circle.
Step 4: Place the thread on your upper lip and do the same motion against the direction of your hair growth. It may be painful, but that’s normal!
Step 5: Once you have removed all the unwanted hair, cleanse the area once again and apply aloe vera to the area to help close the pores.
Shop Threading Products
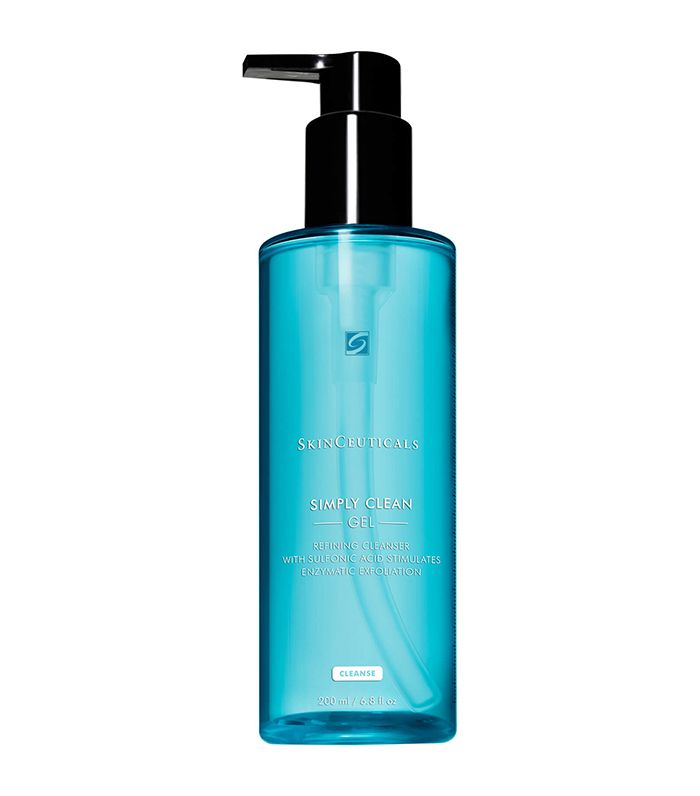
SkinCeuticals
Simply Clean Cleanser
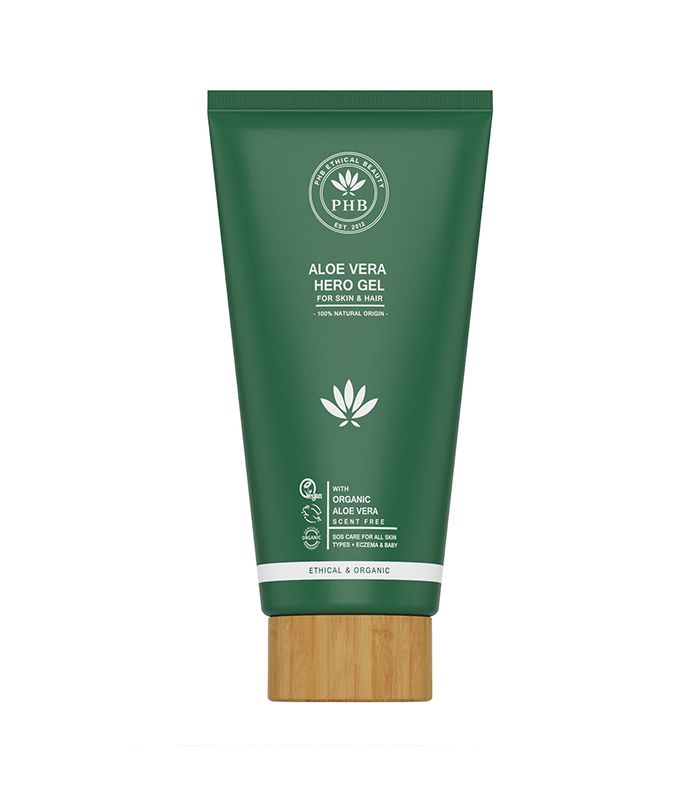
Aloe Vera Hero Gel
Epilating

Similar to threading, epilating works by plucking out the hairs from the follicle. "An epilator is an electrical device used to remove hair by mechanically grasping multiple hairs simultaneously and pulling them out,” explains Siddiq.
In theory, epilating is a great option as it suits all hair and skin types. However, it’s worth noting that it isn’t the most comfortable of methods. Unlike waxing and threading, the pain of epilating isn’t over in the blink of an eye. "Please note that the stronger and coarser the hair, the more discomfort you will experience. It can be uncomfortable but that will ease in time with regular use,” Siddiq warns. The key to getting through it? As with most forms of hair removal, pulling the skin tight should help.
Much like shaving, epilating can potentially lead to ingrown hairs, so be sure to exfoliate regularly.
