Waxing is one of the best ways to remove body hair. While waxing parlors will do the work for you, waxing at home is also not that difficult if you don’t have time to go to a salon or want to do it yourself. Waxing at home is cost-effective, time-saving and just as aesthetic. Yes, it may be a bit tricky at first, but with practice and good preparation, it becomes easier. That is exactly what we are here to help you with. To learn how to wax like an expert, scroll down!
In This Article
- What Should You Keep In Mind Before You Start To Wax?
- What Are The Different Types Of Wax?
- How To Make Wax At Home?
- How To Wax At Home?
- What Are The Tips To Keep In Mind While Waxing?
- What Is The Best After Wax Routine?
- What Are The Pros And Cons Of Waxing?
- Waxing Alternatives At Home
- Infographic: An Easy Guide To At-Home Waxing
- Frequently Asked Questions
- Key Takeaways
- Illustration: Waxing At Home - How To Do It Like A Pro
- Community Experiences
1. What Should You Keep In Mind Before You Start To Wax?
Smooth skininfection-free skin
- Examine Hair Length
Yeah, your hair needs to grow to a certain length before you wax it again. To be precise – it should be at least 1/4 of an inch so that you can easily grasp and remove it.
Also, frequent waxing can loosen your skin. So, the next time you decide to wax, check if your hair has grown enough to be removed.
- Check Your Menstrual Cycle
Do not wax when you are on your periods. Your body is already in pain, and you don’t have to go through more bouts of agony. It’s best to finish off or wait until the first two weeks of your cycle before you wax.
- Avoid Exfoliation
It’s not a good idea to exfoliate right before you wax; it can make your skin sensitive and make it more prone to pain, allergy, and burns. You don’t want that. Exfoliating a day or two before waxing is okay though.
- Do Not Moisturize
Moisturizer forms a barrier between your skin and the wax, making your hair hard to pull out.
You can moisturize your skin the previous night so that it does not feel too dry by the time you wax it the next day.
- Maintain Hygiene
Clean your hands, the place, and the tools you use to wax. It’s crucial because waxing can lead to small cuts and nicks through which bacteria can creep in. Also, sanitize your waxing tools with alcohol.
- Pain-Proof Sensitive Areas
Ice the areas that cause a lot of pain before you start to wax them. These can include the upper lip, underarms, etc. The ice numbs the area and causes lesser pain during the waxing process.
2. What Are The Different Types Of Wax?
- Sugar Wax

Sugar waxnatural ingredients
It pulls the hair out from its roots and does not affect the skin, which is why it is ideal for multiple uses on the same area. Sugar wax works best for those with sensitive skin; and it is okay to use it on any part of the body.
- Chocolate Wax

Chocolate is as good on the skin as it is in your mouth. If you are looking for something luxurious and pampering, then chocolate wax is the best choice.
Chocolate wax causes lesser pain than sugar wax and benefits your skin with its antioxidant properties. It also contains other ingredients like almond oil and glycerin. The wax is a little on the expensive side compared to other waxes.
- Fruit Wax
Fruit wax contains fruit extracts such as bananas and berries, and is rich in nutrients. It nourishes the skin and even works great on sensitive skin.
The wax is rich in antioxidants and is gentle on your skin. It does not cause allergies and also doubles up as a skin-enhancing formula.
- Hot Wax

Hot wax is heated wax that is used on larger areas of the body. The wax is melted in a pot or is microwaved.
Hot wax is used with a flat, stick-like applicator and waxing strips to remove hair from the body. The wax quickly spreads on the skin and is capable of removing very thin hair.
- Cold Wax

Cold wax is applied directly to the skin without any heating or processing. It is easy to use while traveling and does not make much of a mess.
It is available in the market in containers, or as waxing strips with wax attached to them. It comes in a semi-solid form with a firm and thick consistency.
Now that we know about the different kinds of wax, let’s learn how to make a simple one at home.
3. How To Make Wax At Home?
You Need
- 1 cup of sugar (brown or regular)
- 2 tablespoons of lemon juice
- 2 tablespoons of water
- A cooking utensil
What You Need To Do
- Add the brown sugar to the cooking utensil. Then, add lemon juice and water to it. Stir the mixture while you heat it on a low sim. Increase the heat as you stir it and wait till it reaches to a boil.
- Lower the heat. The color of the mixture should turn golden. Check its consistency by taking a spoonful of the mixture and letting it cool. If the texture is slightly thicker than honey, you are good to go.
- Pour the mixture into a bowl and let it cool for about 30-45 minutes. Post which it is ready to use.
4. How To Wax At Home?

Either you can make wax at home (check above to know how) or buy it from the market. Once you have the wax, prepare for the hair removal process by following the tips mentioned at the beginning of this post. (What You Should Keep In Mind Before You Start To Wax?)
Clear the space you would be waxing – it should be clean. Spread a cotton cloth on the table/stool where you will place the wax and in the area where you will sit.
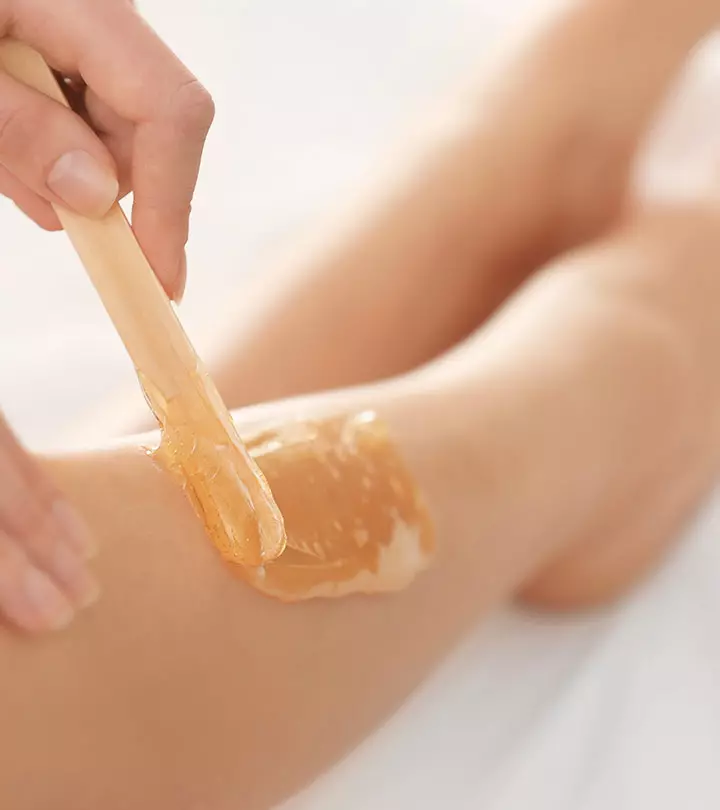
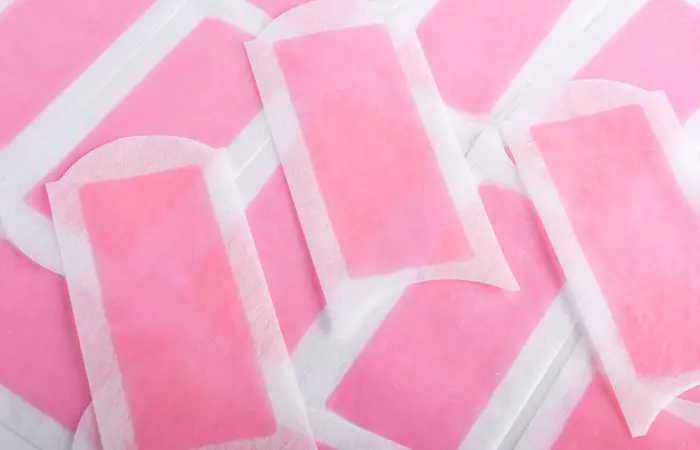
Take adequate wax from the wax container (or wax heater, if it is hot wax) and apply it gently to your skin in the direction of the hair growth. Use a wax applicator for this purpose. Then, take a wax strip and rub it on the area where you have applied the wax – it will stick to it.
Then, pull it swiftly off your skin in one go, in the direction opposite to your hair growth. Immediately press the waxed skin with your palm to reduce the pain.
Follow the same procedure on all the parts of the body that you want to wax. After finishing, wipe your body with a warm cloth (and then with a cold cloth). Allow your body to dry.
Chrissy, a YouTuber, shares her experience of attempting DIY waxing using an at-home waxing kit in one of her vlogs. Despite some initial struggles and bleeding, she notes, “This wasn’t that bad for my first time actually, but I did use a bunch of strips (i).”
5. What Are The Tips To Keep In Mind While Waxing?
Check Your Skin
Check for cuts, burns, and pimples on your skin while you wax. Avoid those areas and wax carefully around them.
If you suffer from any skin allergies and infections, it is best to consult your dermatologist and follow his/her advice.
Regulate Wax Temperature
If you are using hot wax, ensure it doesn’t get too hot as it might burn your skin. Also, ensure it is not so cold that it won’t spread properly on your skin.
The warm wax must be of the ideal temperature. Ensure this by checking its warmth at regular intervals or toggling the wax heater accordingly.
Figure The Right Direction
You need to find the right direction of your hair growth for a smooth waxing session. It is easy in some areas, and in some areas where the growth looks haphazard, you need to take a closer look and wax in multiple directions, if needed. Stretching the skin in opposite direction of hair growth helps reduce pain and prevents skin from pulling into the wax sheet, making waxing easier.
Avoid Multiple Applications
Do not over wax a particular area. Finish the job in one go. Waxing an area multiple times can lead to rashes, redness, and burns.
Thread or tweeze off the tiny areas that don’t come off in the first pull. This is better than waxing the area multiple times.
Douse The Burn With Ice
If you burn your skin, stop waxing and rub the area with ice or soak it in ice water. Wait till the redness and pain subside before you continue with the process. But, avoid the affected area.
6. What Is The Best After Wax Routine?
Pulling your skin to remove hair can agitate it. So, after a waxing session, you need to take care and bring your skin back to normalcy. And, this is how you do it:
- Wear Loose Clothing
Your skin turns sore after a wax and wearing tight clothes can only make things worse.
We recommend light, breathable, and loose cotton clothes that cover your entire body after a waxing session to help your skin heal well (and not suffocate it).
- Avoid The Sun
After a waxing session, your skin becomes vulnerable and is easily prone to damage. Make sure you do not step out in the sun immediately after a wax because it could give you a horrible sunburn and tan.
- Skip The Gym
Working out after waxing is a big no-no because the pores are open and ruptured.
You sweat profusely during a workout, and this can cause bacteria to spread on your freshly waxed skin quickly.
- Do Not Exfoliate
The skin is already clean from dead skin cells after a wax, and scrubbing it again would only cause a rash.
- Say No To Thick Creams
Thick creams irritate your waxed skin because they clog your pores. They can even cause an inflammation. Best to avoid them.
7. What Are The Pros And Cons Of Waxing?
Pros
- Once waxed, your hair takes time to grow back (2-6 weeks).
- Waxing causes less ingrown hairs.
- Depilation creates a neater and cleaner result compared to using depilatory creams.
- It causes lesser and thinner hair growth.
- It is quick and fuss-free.
Cons
- Waxing requires a certain amount of hair growth to pull out the hair.
- It is a painful process.
- It can irritate sensitive skin.
- It is an expensive affair if you go to the parlor.
- Those who have diabetes, are on birth pills or are pregnant need to take their doctor’s advice before waxing.
If you are not fond of waxing, don’t worry because there are several alternatives to waxing that you can try at home for hair removal. Check them out below.
8. Waxing Alternatives At Home
- Shaving: This is the most common and budget-friendly option that provides quick results but may require frequent maintenance.
- Depilatory Creams: These chemical-based creams dissolve hair on the skin’s surface, offering a painless option. But they can cause skin irritation in some cases.
- Epilator: This device plucks hair from the root, providing longer-lasting results than shaving. However, using it can be uncomfortable and painful.
- Threading: This is a precise method for facial hair removal that involves twisting a thread to trap and remove hair.
- Laser Hair Removal: Home laser devices are available, but they are relatively expensive and require consistent use for effectiveness.

Frequently Asked Questions
How often should I wax?
That depends on your hair growth and your preference. It is generally done once or twice a month.
Which is the best type of wax?
It depends on your preference. If you are looking for something completely natural, then sugar wax would be right for you. If you are looking for something that can soften your skin and is also quite pampering, then chocolate wax or fruit wax works great.
Is it better to wax at home or in a salon?
The choice to wax at home is a matter of personal preference. Although it is less expensive and takes less time and effort to wax at home, going to a salon is generally safer.
Is it better to shave or wax?
Although shaving is cheaper than waxing, it doesn’t last as long as waxing. Because the hair is removed from the root, waxing typically lasts 3 to 4 weeks. Shaving, however, causes hair to regrow within 3 to 7 days.
Do you wax before or after you shower?
While it may depend on your personal preference, avoid taking a shower right before waxing as it may not give your skin enough time to dry and will make the procedure more difficult.
Is waxing at home more painful?
Your level of pain tolerance and your waxing expertise will determine this. While some people feel more at ease waxing at home, others prefer going to a salon.
Illustration: Waxing At Home - How To Do It Like A Pro

Learn how to make your own sugar wax at home. It’s easy, affordable, and you’ll be ready to wax in no time. So say no to commercially-sold wax kits and be picture-ready with this DIY wax! Check out the video to learn how!
Community Experiences
Join the conversation and become a part of our empowering community! Share your stories, experiences, and insights to connect with other beauty, lifestyle, and health enthusiasts.


